
First Steps
Step 1: Create Your Account
- After purchasing LiveSwitch Contact make sure to click the "Get Started" button to finish setting up your account. Also look out for a welcome email with additional information.

- Don’t forget to Bookmark contact.liveswitch.com to log in next time. The email address used to check out will be the email you use to log back in next time and will be the main admin account.

Step 2: Customize Your Account
After account setup is complete, you can customize your account for your organization.
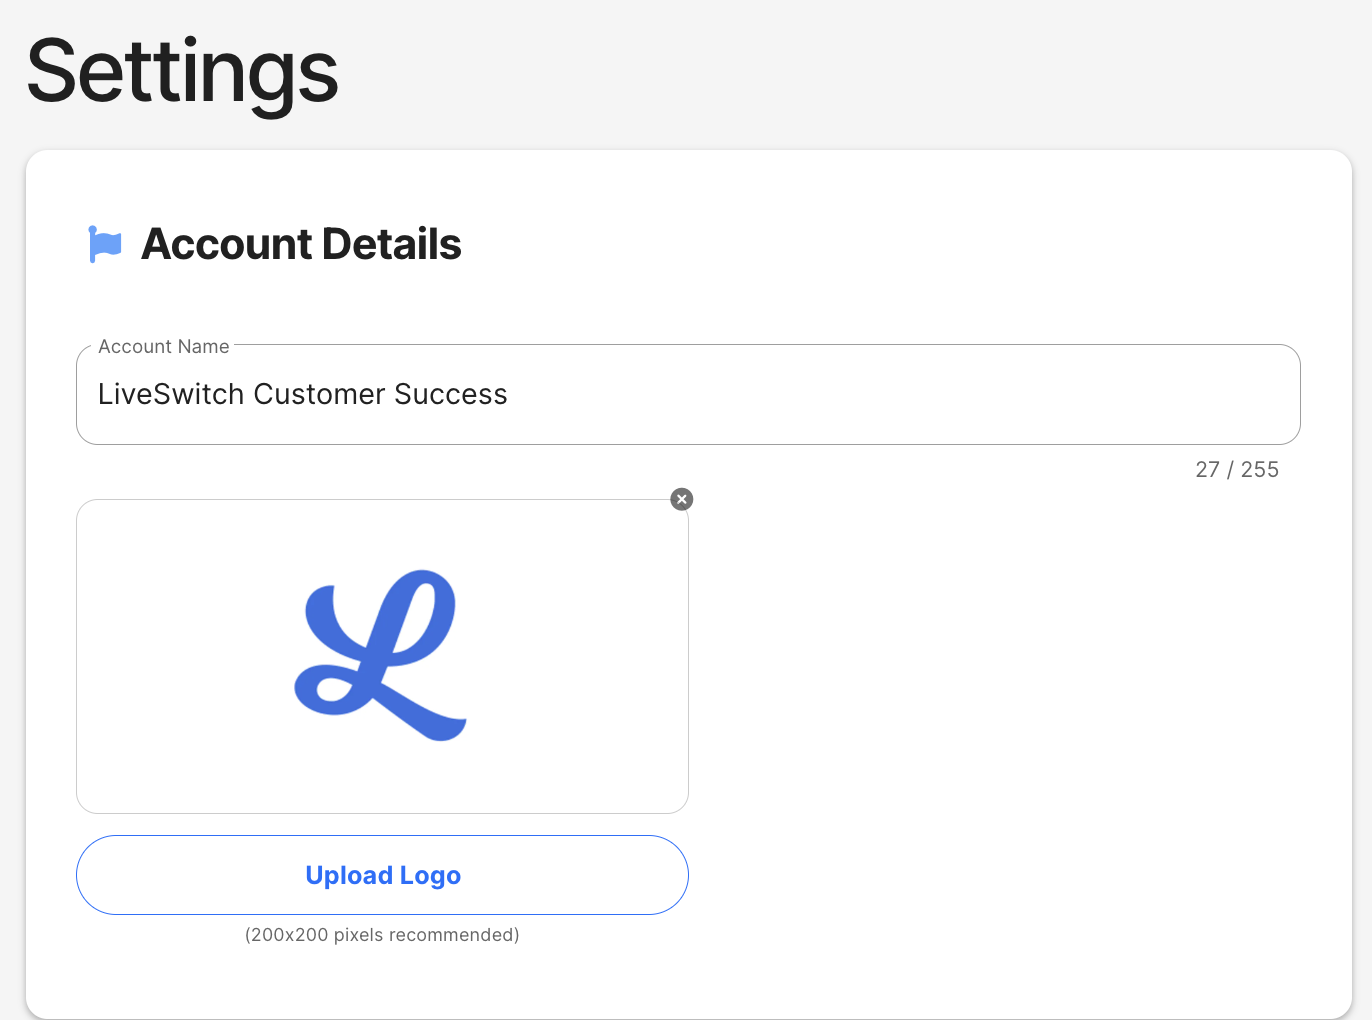
- Navigate to "Settings" on the left hand menu
- Confirm your "Account Name" is displayed correctly and add your company logo by clicking "Upload Logo". Logos should be a PNG file and 200 x 200 pixels
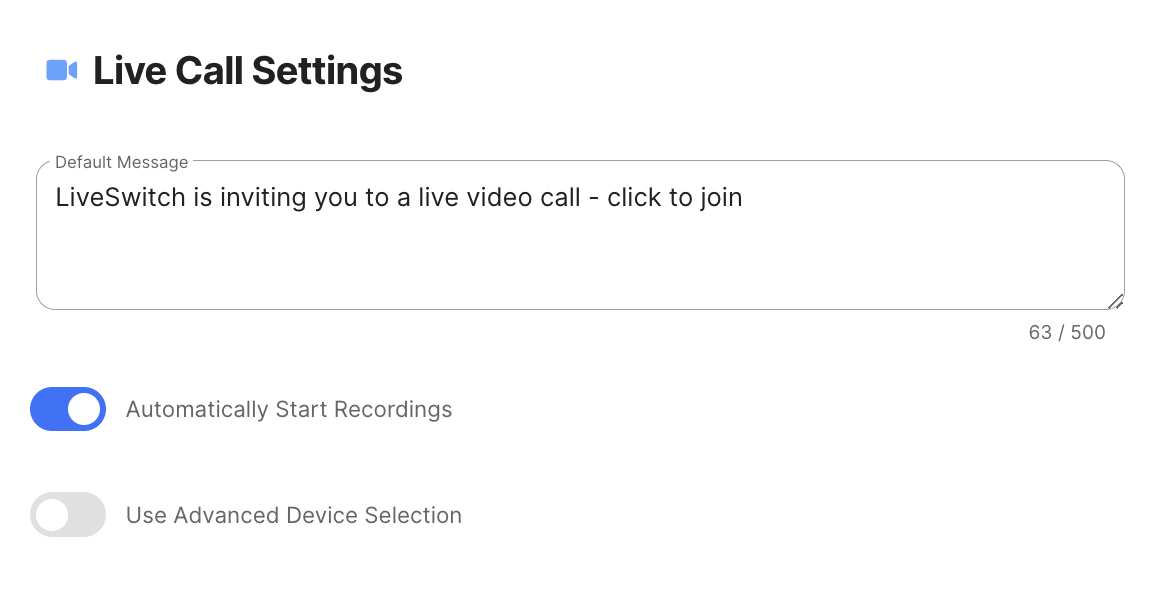
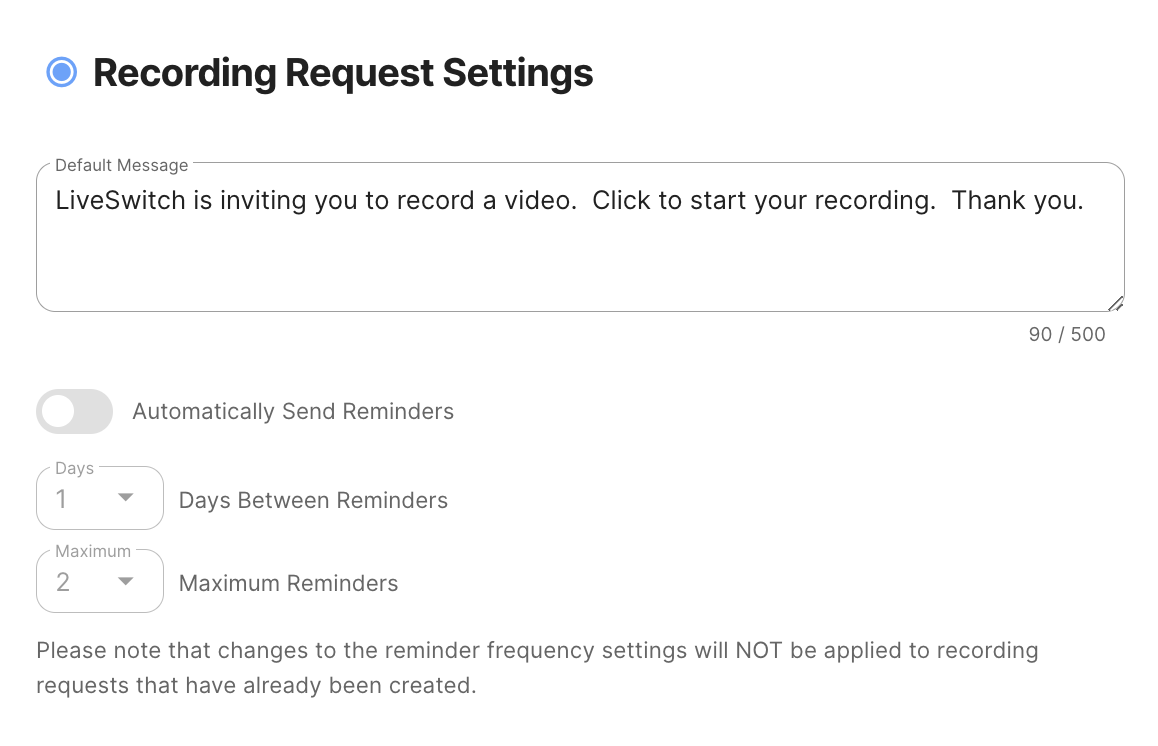
- Update the "Live Call Settings" and "Recording Request Settings" as needed. This will be the message sent to customers when sending them a text or email inviting them to join a call or record a video. Make sure to click the "Save" button at the top.
- Adjust the "Recording Request Settings" to send automatic reminders by toggling the button and selecting the frequency.
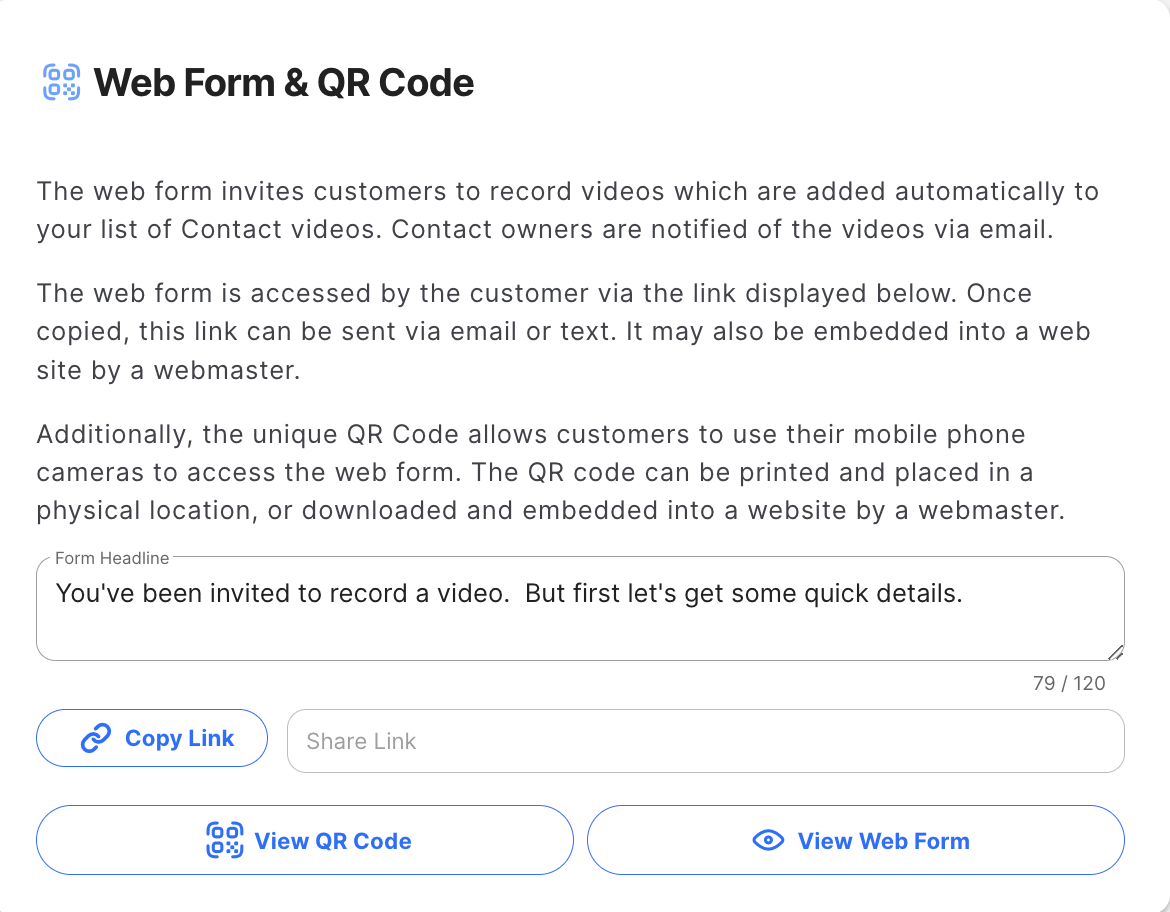
- Customize your "Web Form & QR Code". Adjust the headline you would like to appear on your form. The web form is accessed by the customer via the link displayed below. Once copied, this link can be sent via email or text. It may also be embedded into a web site by a webmaster. Additionally, the unique QR Code allows customers to use their mobile phone cameras to access the web form. The QR code can be printed and placed in a physical location, or downloaded and embedded into a website by a webmaster.
Step 3: Add Team Members
- Navigate to the "Team Members" section from the left hand menu.
- Click the blue "Add Team Member" button
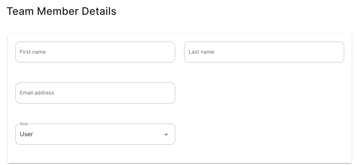
- Fill in your team members "First Name, Last Name, Email & User Role"
- Click "Save"
- Team members will receive an email invitation to sign in and select a password.
Now that your account has been set up you can begin using all the features of LiveSwitch Contact from the Home page.
LiveSwitch Contact Dashboard
Once you've set up your account, the options to send customers a video link will be available on the Home of your Dashboard. There are four options for conducting video calls.
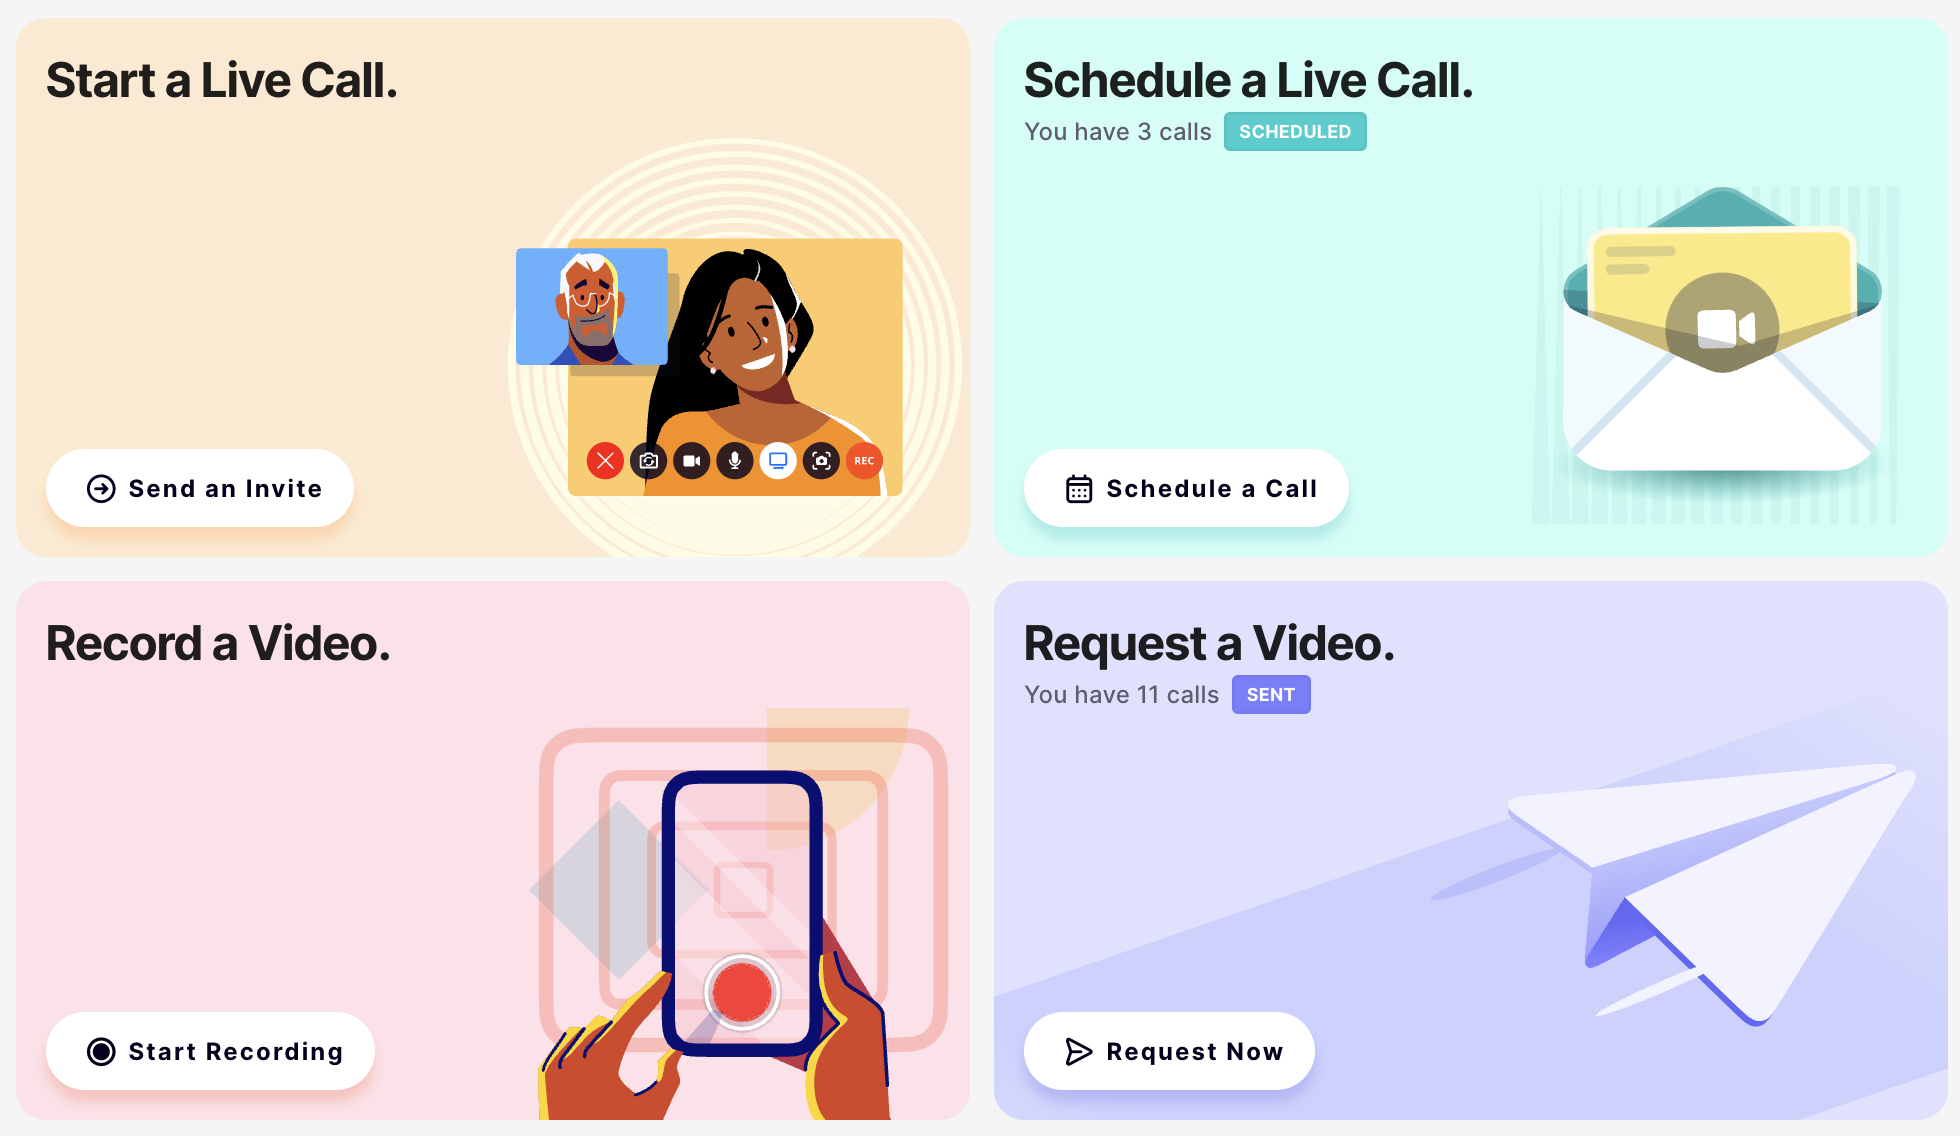
- Start a Live Call - Click "Send an Invite" if you wish to begin a live call with a customer immediately
- Schedule a Live Call - Click "Schedule a Call" if you would like to schedule a live call with a customer in the future
- Record a Video - Click "Start a Recording" if you are onsite with a customer or have a need to record something for internal purposes.
- Request a Video - Click "Request Now" if you do not need to connect live and wish to send your customer a link to make a recording at their convenience.
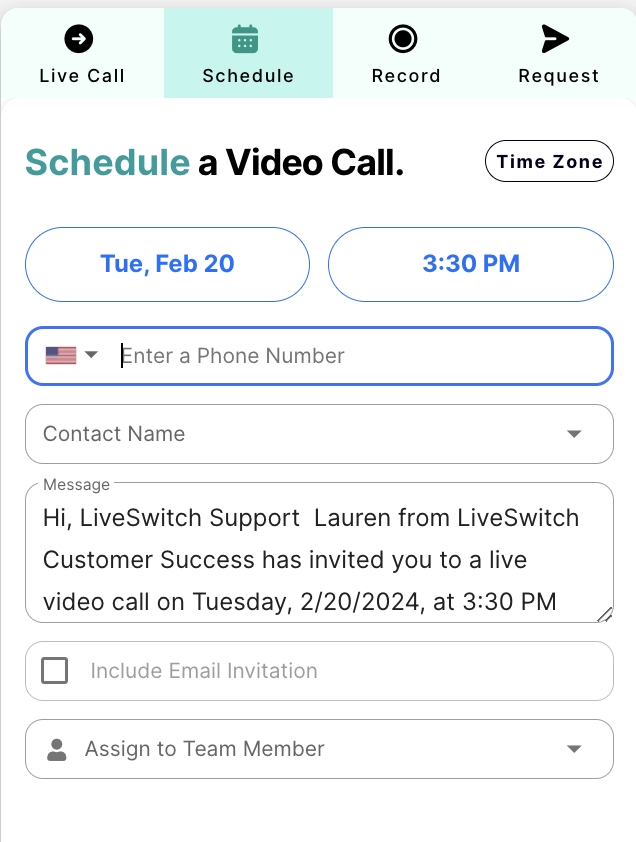
Send Live Call Links
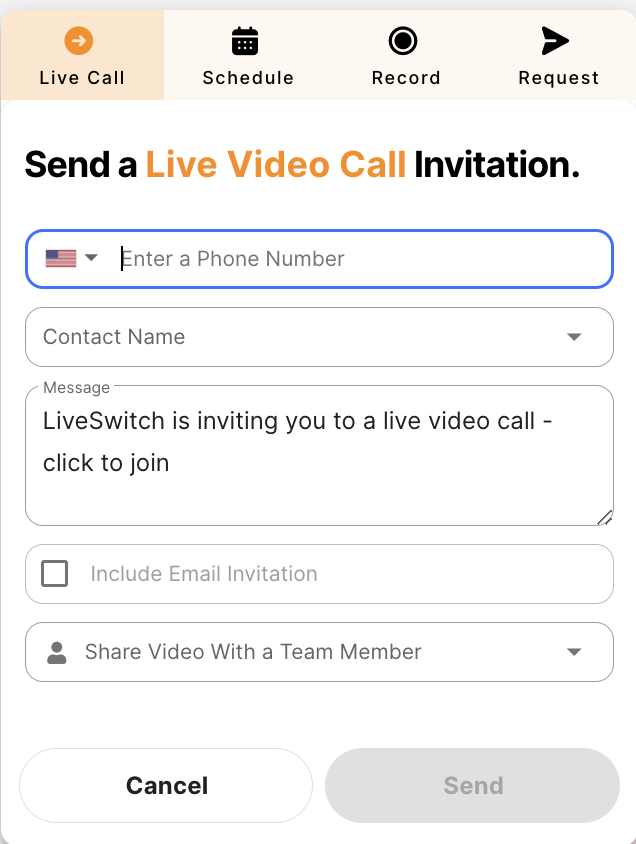
On the pop up module after selecting the type of video call you wish to have, enter the customer's "Phone Number" and "Contact Name" then click SEND or SCHEDULE to send the video link to the customer . If scheduling a call make sure to select the day and time. You also have the option to change the default message that is sent with the link, include an email invitation or share with a team member. The call will instantly start in a new tab.
Start the call
For the Live Call click "JOIN" after sending the customer their link. Your video chat begins as soon as your customer joins. Your video tile will be displayed in the lower right corner of your device, and once your customer joins the call they will be full-screen.
%20-%20SupBubble/SupBubble-Getting-Started-Guide/SupBubble-Getting-Started-Guide-new-conversation-04.webp?quality=high&width=486&height=313&name=SupBubble-Getting-Started-Guide-new-conversation-04.webp)
What your customer sees
When you send your LIVE CONVERSATION text link, your customer is immediately notified with a text message that will look like this. You can easily customize the message using the notification template.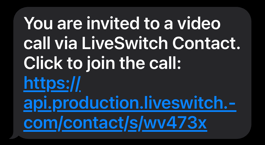
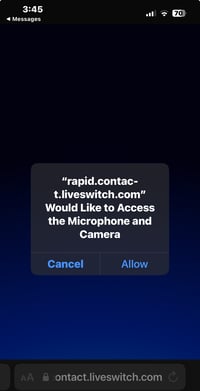
Once your customer clicks the link they will be prompted to join your video call by accessing their microphone and camera. Make sure to tell them to click ALLOW.
After the customer clicks 'Allow' they will enter the call with you, and voila, you are good to go. It's that easy.
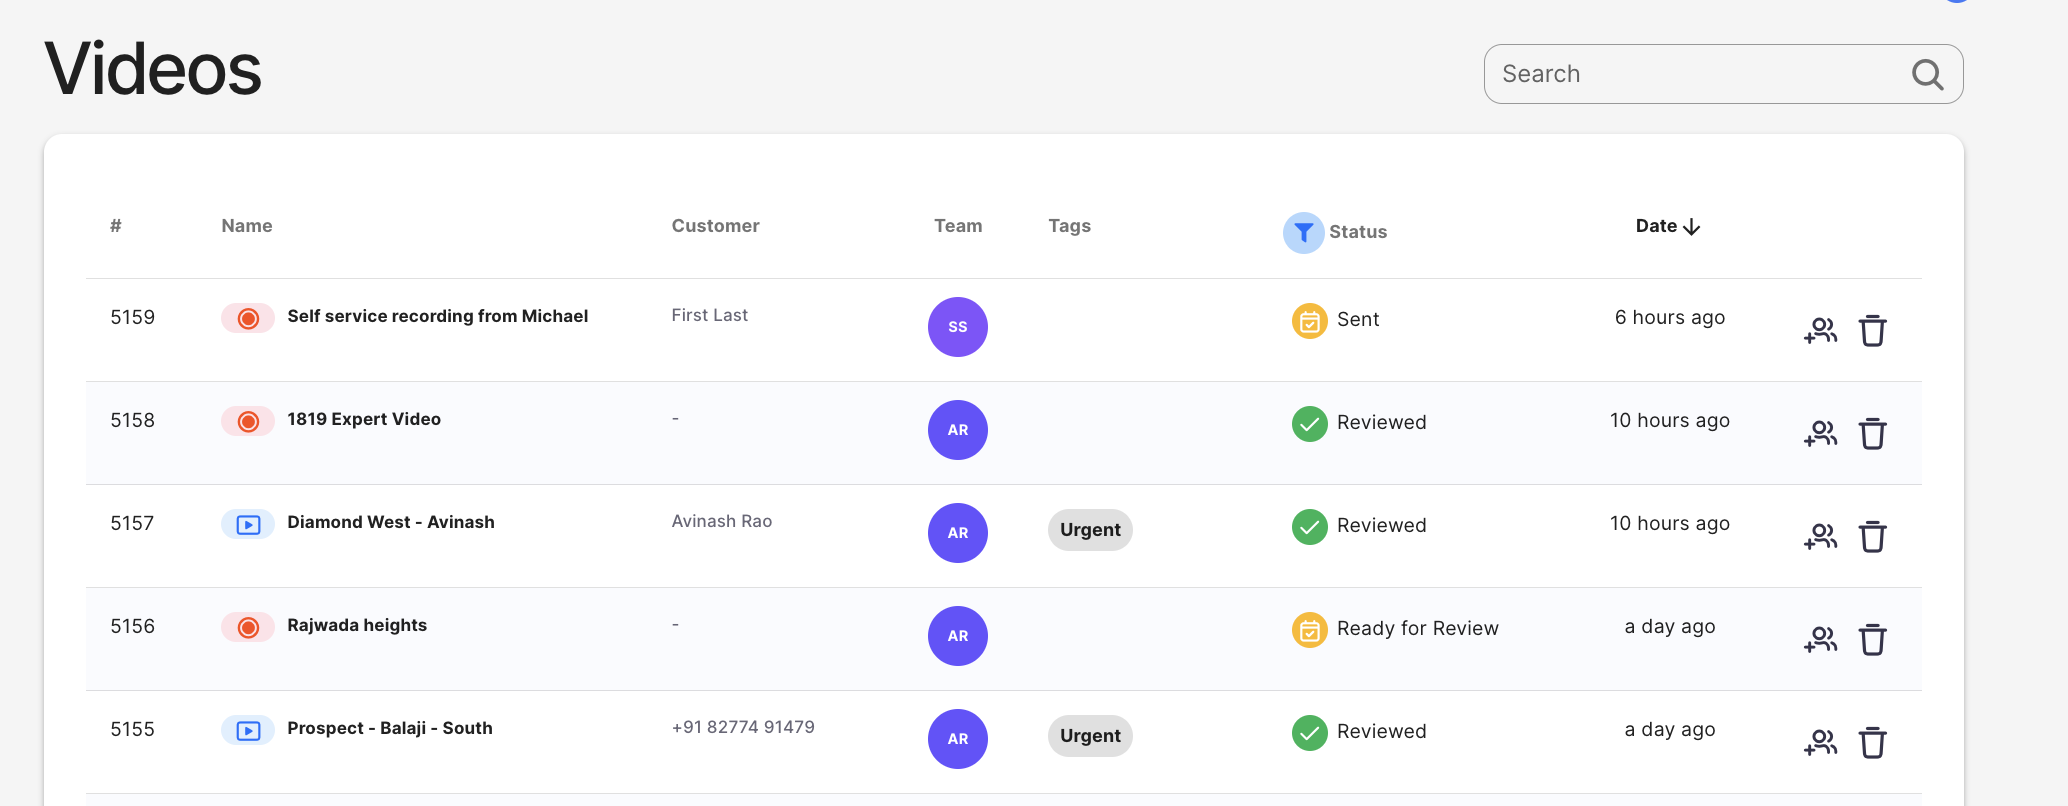
Videos
From this section you are able to review recent live meeting conversation history and any recordings.
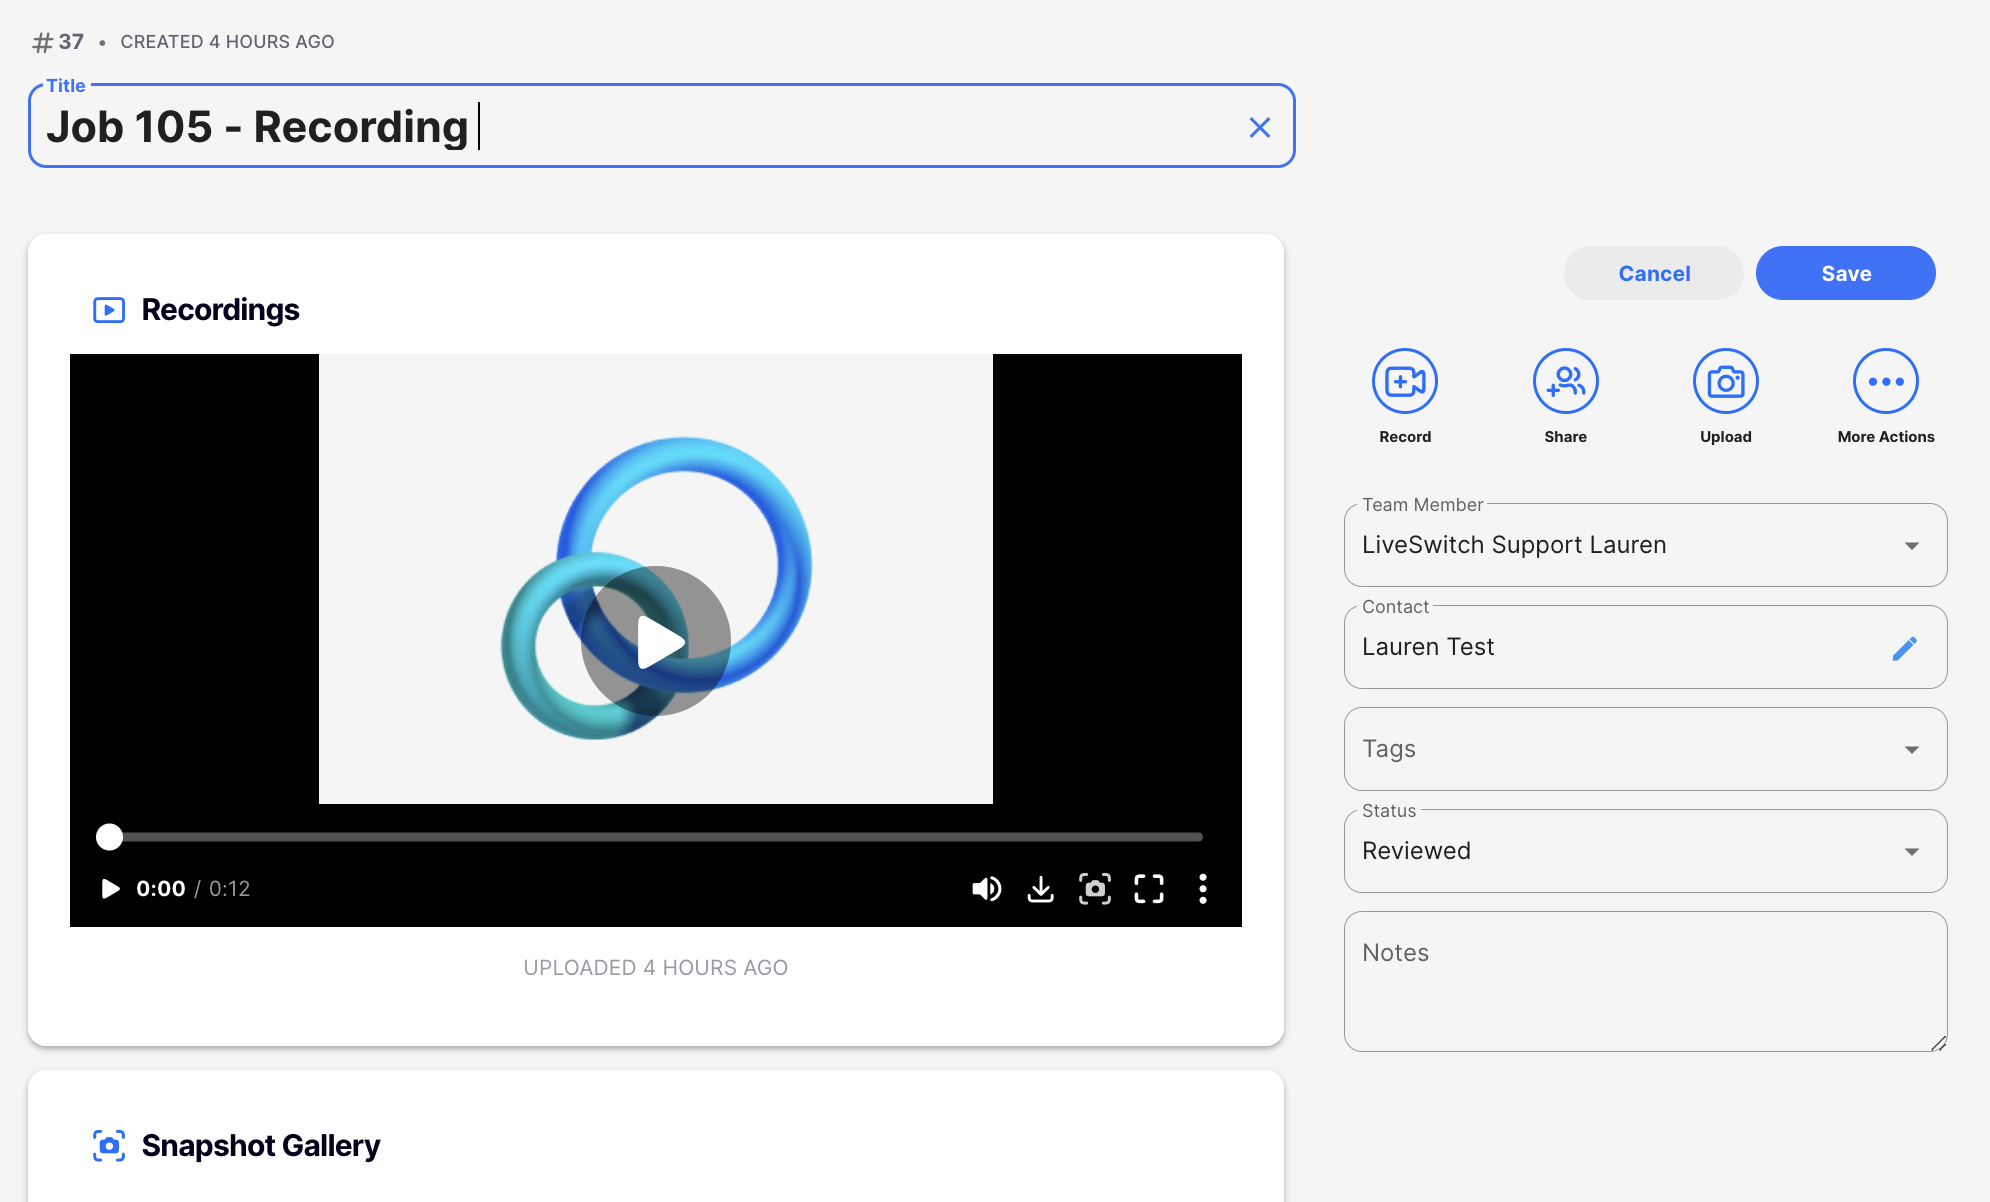
To review more details about a specific conversation simply click within the row and you will be taken to another page with more detailed information as well as access to the recording if one was made.
You can change the conversation name, add notes, tags, take snapshots, upload additional videos to any record as well as share or download the recordings.
Frequently Asked Questions
- The Live Conversation & Request Recording links expire after 30 days.
- An email alert will be sent once a recording from a customer is available to view.
- Recordings are kept for 120 days. If you need to keep your recordings for longer click on the 3 dots to the right of the recording to download.
- You can share recordings with users that do not have a login to contact for easy collaboration.
- Password Requirements:
- At least 8 characters
- At least 3 of the following:
- Lower case letters (a-z)
- Upper case letters (A-Z)
- Numbers (0-9)
- Special characters (e.g. !@#$%^&*)
- Recording Requests Statuses:
- Sent - Text was successfully sent to the customer.
- Delivered - Customer opened the text and clicked the link.
- Processing- Customer is using link to take video and video will be processed once they complete recording
- Ready for Review - Email notification has been sent to you that video is ready to view and the recording is in your account.
- Reviewed - You or someone has reviewed the video.
Adding Shortcuts
At LiveSwitch, we believe simple is better, so there is nothing to download and no apps to install. For quick and easy access, follow the below instructions to add a shortcut to your computer or mobile device.
Desktop Shortcut
- Open your browser (Chrome, FireFox, Internet Explorer or Safari)
- Type in app.contact.liveswitch.com in the URL address field
- Click on the lockbox or globe icon next to the URL and hold it down while dragging it over to your desktop then drop it where you want it to appear
iPhone Shortcut
- Open the Safari App
- Type in app.contact.liveswitch.com in the search field and click Go
- Once the LiveSwitch Contact site appears click on the share icon

- Select Add to Home Screen then Add
- Close out of the Safari app and you should see a new app icon for LiveSwitch Contact on your phone as an app shortcut
Android Shortcut
- Open browser and type in app.contact.liveswitch.com
- Click the three dots to the right of the URL and select Add to Home Screen then Add two times
- Close out of the internet browser and you will see the LiveSwitch Contact Icon on your phone screen as an app shortcut